1. Install Silicon Labs CP210x/CH340-FTDI drivers for your computer before pluging in GlowCube™
CH340 AND FTDI for GlowCube DIY (DIY Set/Half-case OLED)

* For DIY and half-case user please install both drivers before plugging in OLED. You may need to restart your computer after installed CH340 driver.
2. plug-in MicroUSB to your GlowCube™ then another end to your computer.
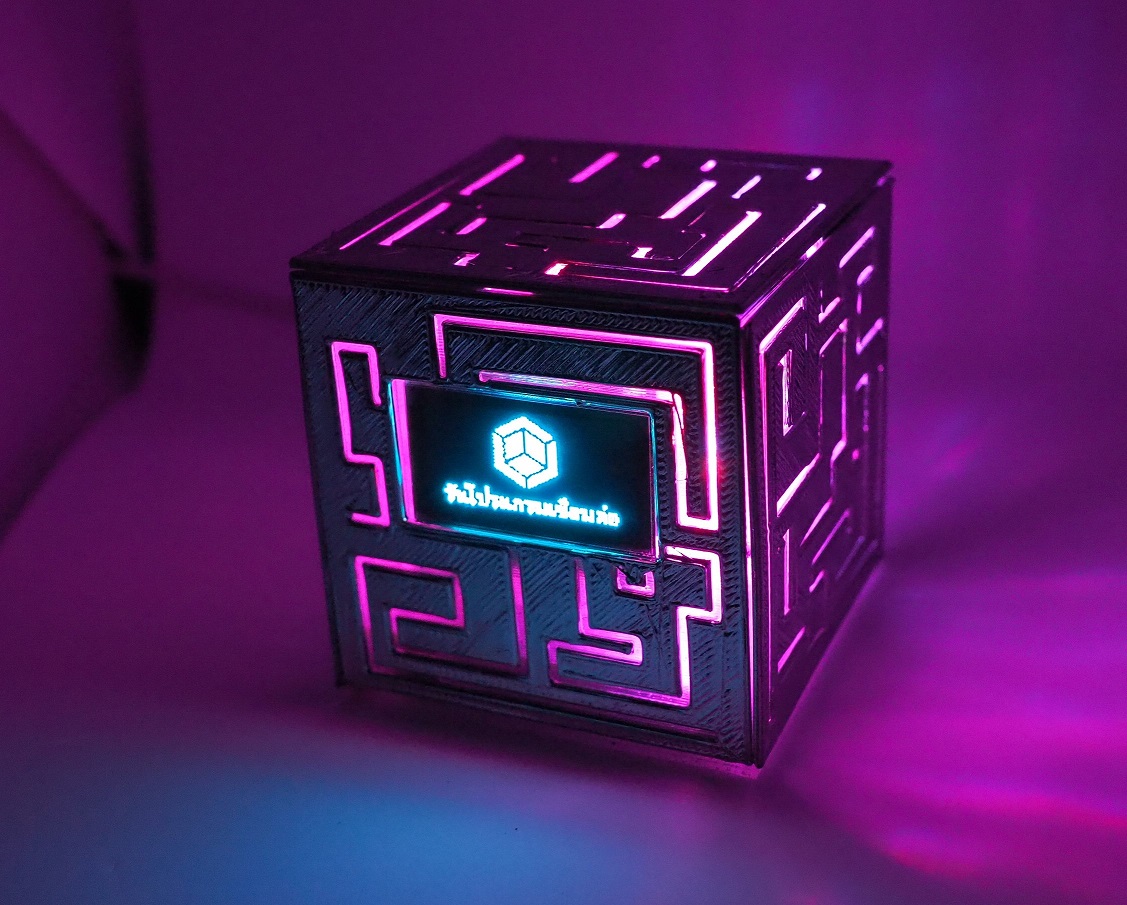
for GlowCube CUBE RGB
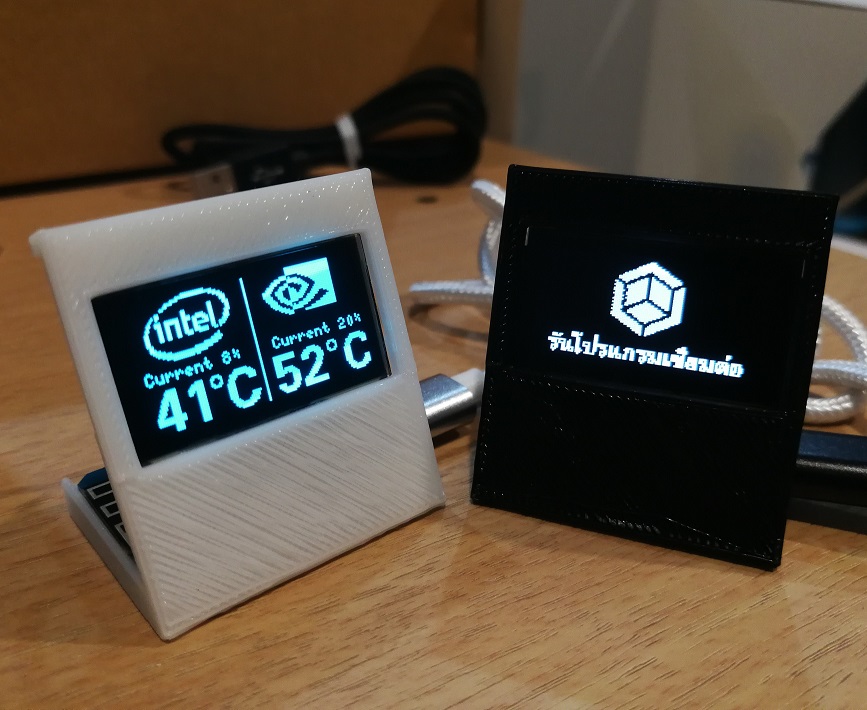
for GlowCube DIY (DIY Set/Half-case OLED)
GlowCube™ will light up and OLED will display the logo. At this point, for RGB CUBE model, if you want just decoration lamp you may stop here but if you want to make it display your computer status, please follow further steps.
3. Extract and run GlowCube software as administrator
Choose and download a file matches your product below. The file is portable. Double-click on green icon executable file (GlowCube_MODEL_xxx.exe)

Legacy Version v1.33 For GlowCube CUBE (RGB Cube)
Purchased before 13 Dec 2020
Recommended v1.36d For GlowCube CUBE (RGB Cube) Purchased after 13 Dec 2020 or firmware upgraded to v1.3
Experimental v1.38d Beta For GlowCube CUBE (RGB Cube) for newest features, may not stable.
-
infoWhat is new in v1.35
- Two OLED screen support, connect up to two OLED and control them separately.
- Makes Display mode will display current Clock Speed of CPU instead of Base Clock Speed
- Radeon 5000 and 6000 Series support.
- Support CPU Ryzen 3000 series.
- Stability, performance, and memory usage tuning.
- Fixed GPU Radeon VEGA not showing its name
- This version need to be Run as administrator to get CPU temperature.

Recommended v1.38d for GlowCube DIY (DIY Set/Half-Case OLED) Purchased BEFORE 1 Jun 2022
FW 1.6+FPS v1.40E
Designed for our new 1.6 firmware (see f/w version at top right of logo screen). Support game and 3D FPS viewer and some new display theme. Installation and running of Riva Statistic Server in the background is needed (included in the zip file)
-
infoWhat is new in v1.38Q
- Newer hardware support.
- Firmware 1.5 support with new screen.
- Support fast refresh protocol introduced in f/w 1.5
- WiFi supports for calibrating clock and cryptocurrency price show.
- Config uploader
- Stability, performance, and memory usage tuning.
SafeMode v1.33 Fallback สำหรับ GlowCube DIY ชุดงานดิบ/Half-Case)
For all above fails or for technical debugging purpose.
You may make Windows start this program automatically at boot by doing this
- Press WindowsKey + R
- type Shell:startup then press Enter, the Start Up folder will display
- Create Shortcut of the .exe file to the Startup Folder. (drag and hold ALT then drop to that folder). Right click on the newly created Shortcut then choose Shortcut tab > Advanced > (tick) Run as administrator
If the program still cannot run on startup
- Press Windows Key then type user account choose the menu ( Change user account control setting), pull down the lever to never notify
- Open Registry Editor (regedit) browse to HKEY_LOCAL_MACHINE\SOFTWARE\Microsoft\Windows\CurrentVersion\Policies\System change Enable LUA from 1 to 0 then reboot your computer. and reboot your computer afterward.
4. Wait for 4-5 seconds, your computer status will be shown. (First synchronization may takes up to 15 seconds)
You will see little icon on Windows system traybar (bottom right corner of your Windows' Desktop). You may right click to see available options.
Display Mode
- All Show all info as a table
- CPU Load Meter Show CPU utilization as digital gauge.
- GPU Load Meter Show GPU utilization as digital gauge.
- CPU Temp Meter Show GPU temperature as digital gauge.
- Makes Show maker logo, loads and some info.
- Temp Monitor Show CPU/GPU temperature.
Available RGB mode (for CUBE model)
- Auto Change color and blink speed according to CPU utilization (low->blue, mid->yellow, high->red, full->purple)
- Random (Slow) Random with slow breathing blink
- Random (Fast) Random with fast breathing blink
- Other color choices (เช่น Blue, Green, Red, Purple) lock the color you specified.
- Off Turn off LED
5. (Optional) Upload your Wi-Fi settings, connect to Wi-Fi, and unlock for features


For firmware v1.5 and beyond. The OLED screen has hidden features of connecting to Wi-Fi and additional settings like cryptocurrency price display, offline screen text settings, timezone, or work as digital clock.
How to config the OLED settings
- Close or End Task all running GlowCube client process.
- Double-click on diyconfig.ini file. Edit the file (instruction inside the file).
- After finished editing config file. Double-click on DIY_Config_Uploader.exe. The black console will appear, wait for download to be finished.
- Device will automatically restart. Enjoy!
6. (Optional) Displaying game's framerate (FPS) on OLED via RTSS
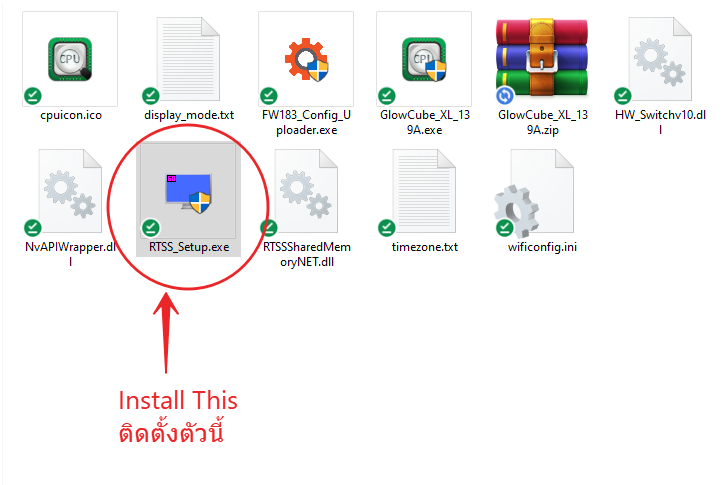
For device with firmware v1.6+ you may run Riva Statistic Server for display FPS from your game at OLED, please install RTSS_Setup.exe as shown

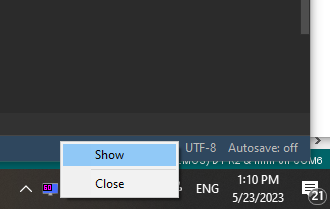
Then run Riva Statistic Server, you will see a small icon at your Windows' traybar, right click and select "Show"

Set overlay to off and detection to low or medium (try at low at first, but if it failed to detect your game, you may increase to medium or high)

Screen will show your framerate soon, if RTSS is not running or fail to detect your game, it will show as ----
7. Troubleshooting
- Try run the software after pluged the GlowCube™, if not showing anything, close the program (End Task) GlowCube.exe in task manager or close the console window.
- Pull out GlowCube™'s USB from your computer and replug it to your computer.
- Run GlowCube program again
- If you upgraded the Windows (eg. from Windows 10 to Windows 11), you will need to install driver again before running the client.
- You may need to try rebooting the computer one time and run again.
- If problem still persist, contact us at Facebook page here